How a block paved driveway is built, layer by layer
Everything that determines whether a driveway lasts is buried before the first block goes down. Here is what should be under yours.
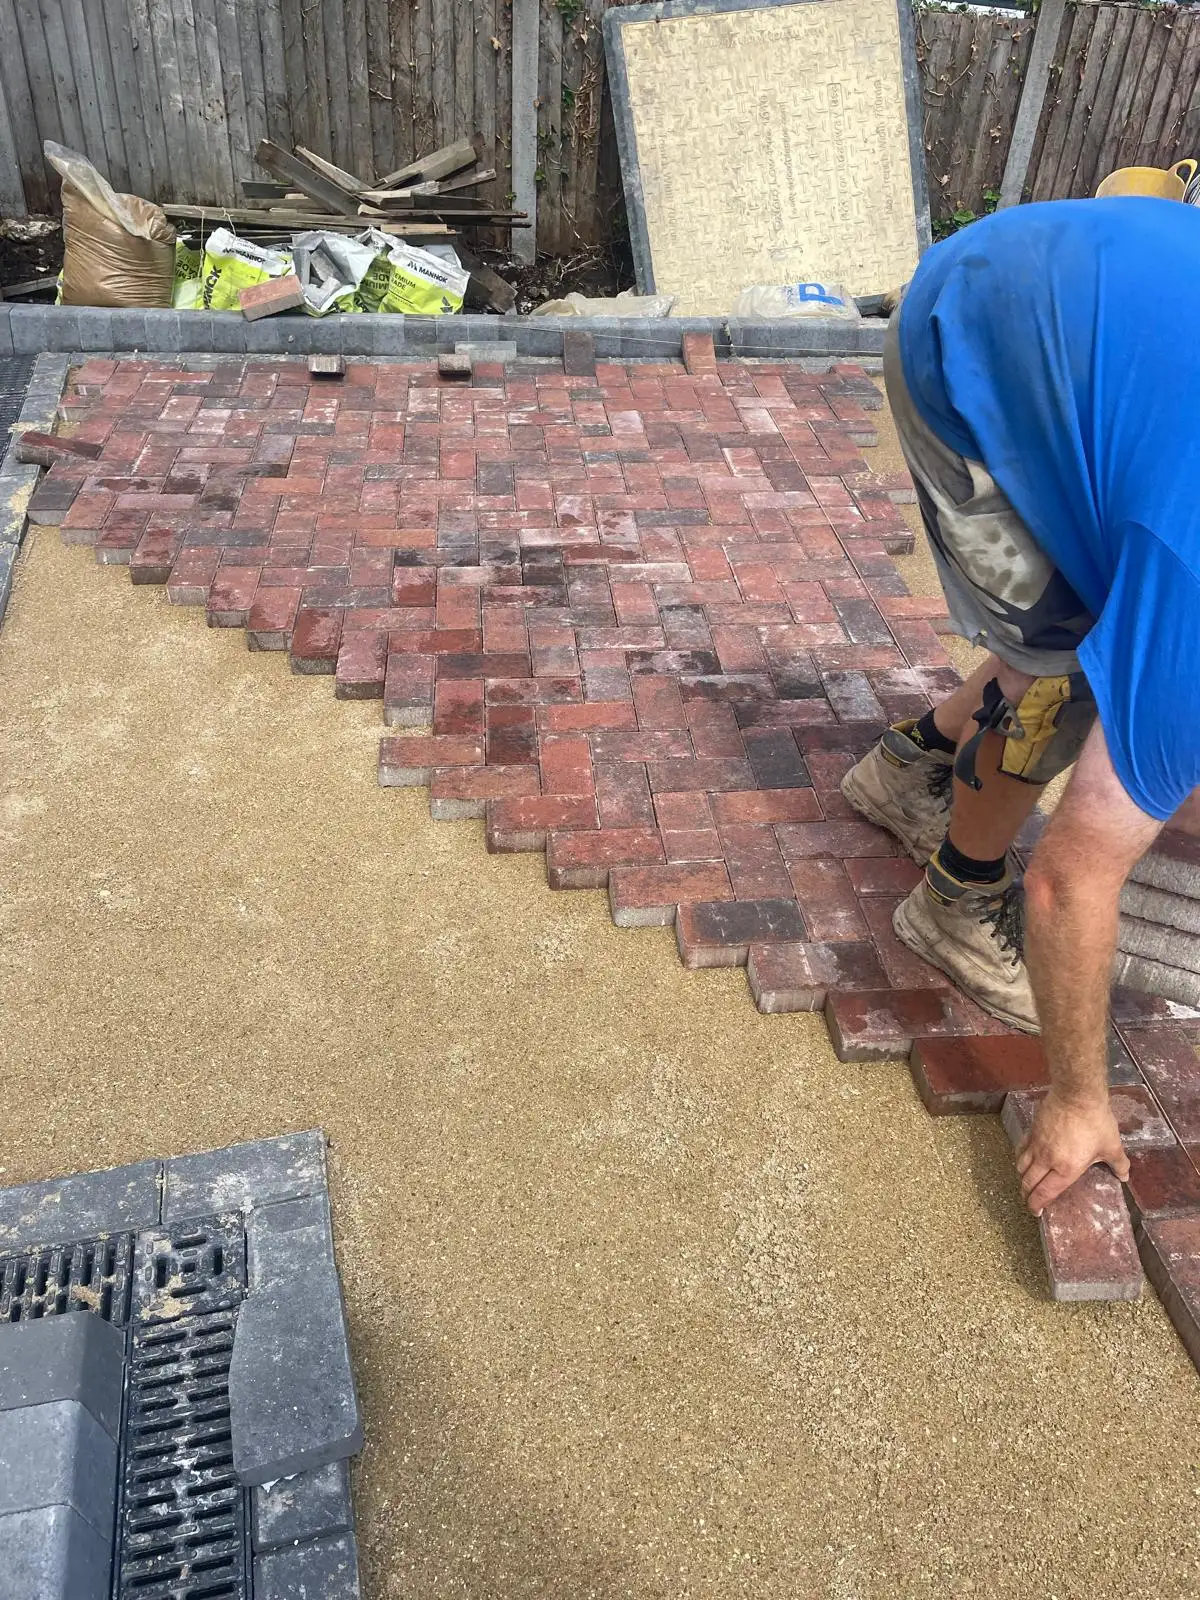
The moment most people never see. Edge course bedded, laying course screeded, blocks going down off a string line.
A block paved driveway is not a surface. It is a structure, and the blocks are the least important part of it.
Properly built, it is what engineers call a flexible pavement: a compacted stone base that spreads the load of a car out over a wide area of ground, with an interlocking surface on top that distributes point loads and can be lifted and re-laid whenever needed.
Understanding the layers is genuinely useful when you are taking quotes, because it turns a conversation about colour into a conversation about specification.
From the bottom up
Depths are typical for a domestic driveway on reasonable ground. Poorer ground means more of everything.
| Layer | Typical | What it does |
|---|---|---|
| Subgrade the natural ground | — | Inspected and proof-rolled. Soft areas dug out and replaced, not bridged over |
| Geotextile membrane | — | Separates subgrade from sub-base. Stops stone punching down and fines migrating up |
| Sub-base MOT Type 1, or open-graded for permeable | 150mm+ | The structural layer. Spreads wheel loads. Laid and compacted in layers of 150mm maximum |
| Laying course sharp sand, or 2–6mm grit for permeable | 30–50mm | Screeded flat so every block beds evenly. Not a levelling layer for a bad sub-base |
| Blocks | 50mm | The wearing surface. Interlock in herringbone to resist horizontal load |
| Jointing kiln-dried sand, or grit for permeable | 2–5mm joints | Transfers load between blocks. Without full joints there is no interlock |
| Edge restraint bedded and haunched in concrete | Full depth | Holds the whole field in. The one component with no substitute |
Total excavation for the above is roughly 250mm below finished paving level. On London Clay, or under a permeable build where the sub-base is also a water reservoir, it can be substantially deeper.
Six things worth getting right
Compaction in layers
A plate compactor cannot densify 300mm of loose stone from the surface. It compacts the top hundred millimetres and leaves the rest to consolidate under your car over the next two years, which is a rut. Sub-base goes down in layers of no more than 150mm and each one is compacted before the next.
The laying course is not a levelling layer
It should be a consistent screeded thickness across the whole driveway. Where it is used to make up for a sub-base that was never brought to level, you get a surface that settles unevenly, because thick sand consolidates more than thin sand.
Haunching, not just bedding
An edge restraint sitting on concrete but with nothing behind it will rotate outwards. The haunch is the concrete brought up the back of the unit, and it is the bit that resists the outward push of forty square metres of paving.
Cuts made properly
Blocks at edges and around obstacles should be cut with a saw to fit. Small slivers, gaps filled with mortar, or blocks knocked in with a bolster are all weak points that break up early. No cut should be less than about a third of a block.
Levels against the house
Finished paving should sit at least 150mm below any damp proof course, and fall away from the building. Raising ground against a wall to make a driveway level is storing up a damp problem in exchange for a tidy edge.
Jointing, then jointing again
Sand is brushed in, the surface is vibrated so it settles into the joints, and more sand goes in. Then, a few weeks later, once rain and traffic have consolidated it, the joints need topping up again. A driveway that is never revisited will have partially empty joints within a season.
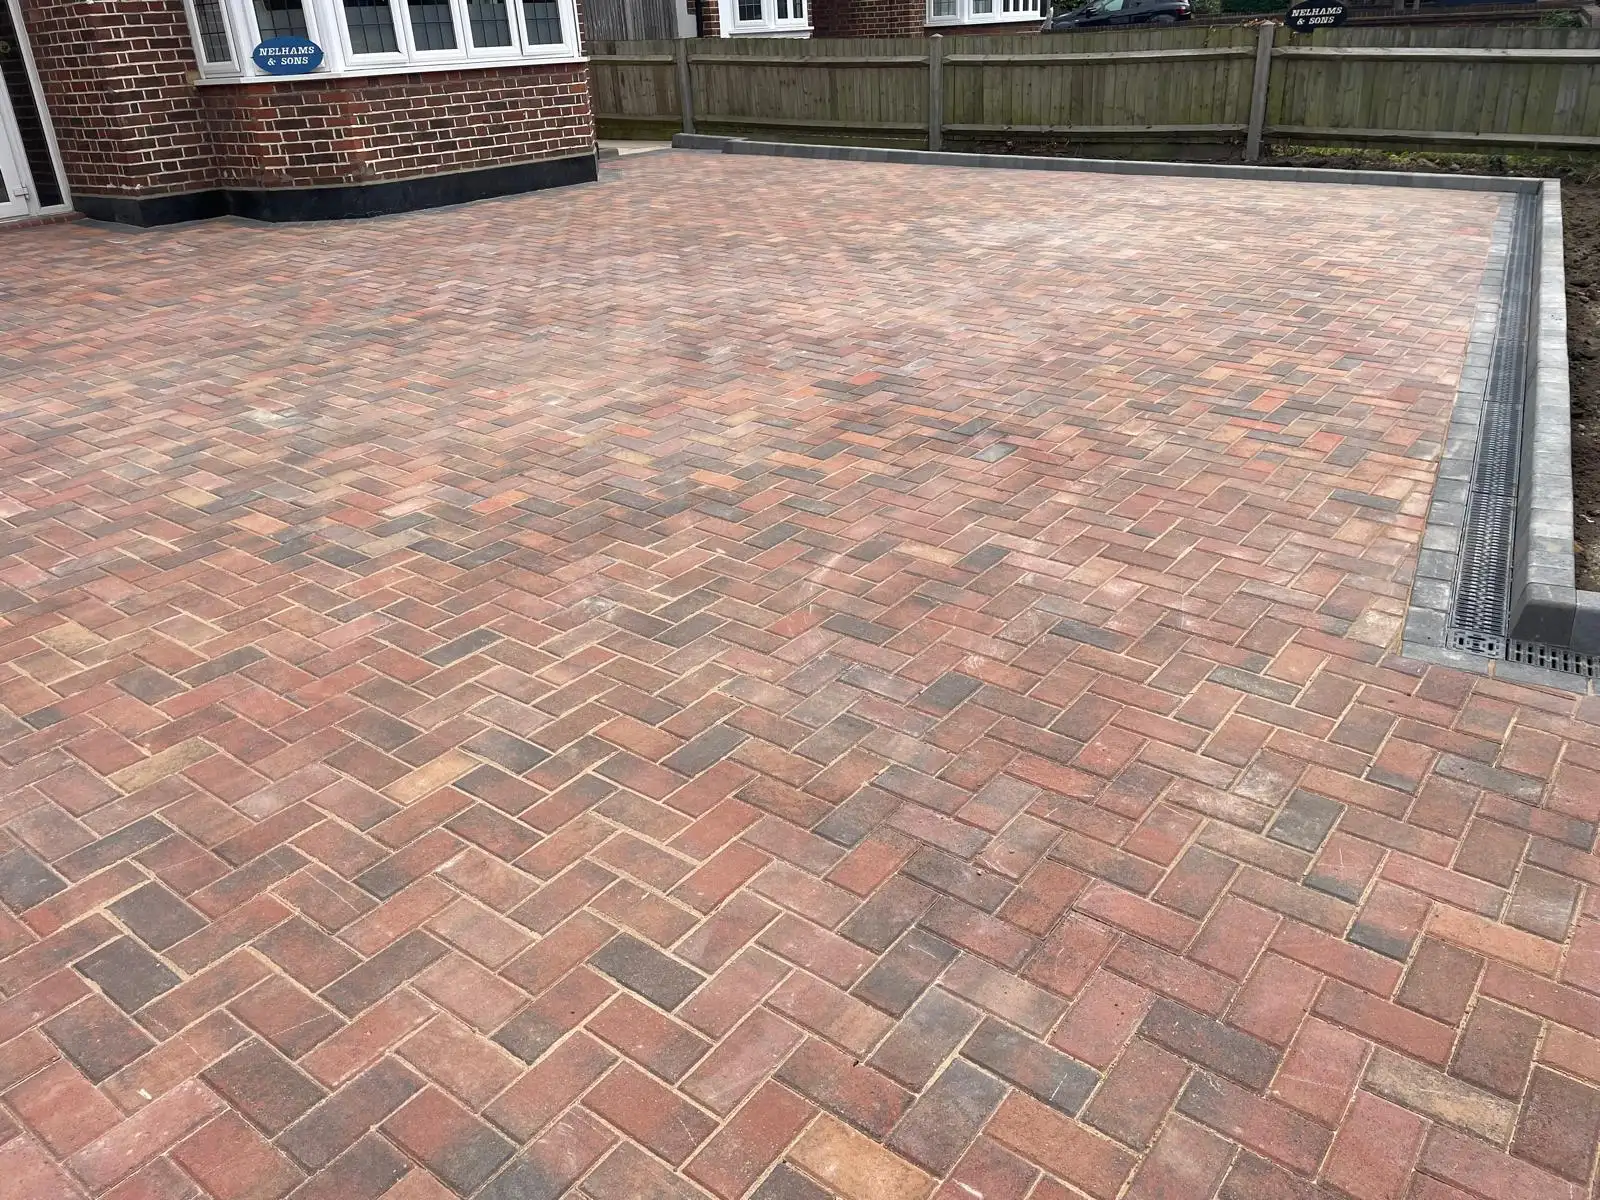
Consistent joint widths, full joints, and cuts that land in one line at the edge. What a finished surface should look like.
Signs it was done properly
- Joints are consistent and completely full
- Cuts are sawn and no smaller than a third of a block
- The edge course is dead straight and does not rock
- Water runs off rather than sitting anywhere
- The surface is at least 150mm below the damp proof course
- Nothing moves underfoot at the perimeter
Construction questions
How thick should driveway blocks be?
50mm. That is the standard driveway thickness and it is not a place to economise.
40mm blocks exist and are cheaper, but they are made for patios and footpaths. Laid on a driveway they crack under wheel loads, particularly where a car turns on the spot. If you are being quoted 40mm for a drive, ask why.
Why herringbone rather than a straight pattern?
Because it interlocks in two directions. When a car brakes, accelerates or turns, it pushes the surface horizontally. Herringbone blocks brace against each other in both axes and resist that. Stretcher bond only interlocks in one, so the courses gradually creep.
Use stretcher bond, basketweave or a circle feature for borders, aprons and paths. Keep herringbone where the wheels go. 45° is marginally better than 90° at the entrance because it also braces against the turning movement across the crossover.
How much fall does a driveway need?
Somewhere around 1 in 60 to 1 in 80 across the surface. That is roughly 12 to 17mm of drop per metre, which you cannot see but water certainly can.
Flatter than that and water sits. Much steeper and the drive becomes uncomfortable to walk on and cars can ground at the threshold. It should always run away from the house, and it should always end somewhere that can accept the water.
Why is my driveway laid on sand rather than concrete?
Because block paving is a flexible pavement, and that is its advantage. The sand laying course lets each block settle into full contact and lets the surface flex slightly under load and with ground movement without cracking.
Bed the blocks on mortar and you have made a rigid pavement with no reinforcement and no movement joints, which cracks. It also means the paving can never be lifted and re-laid, which is one of the best things about block paving.
Should a new driveway be sealed?
Not straight away, and not necessarily at all. New paving needs to weather for several months and let efflorescence work its way out before any sealant goes near it.
Sealing has genuine benefits for stain resistance and joint stabilisation, and it has downsides: it needs redoing every few years, it can change the appearance, and a poor application looks worse than no sealant. There is more in looking after block paving.
Want this specification on your driveway?
It is the only way we build. Tell us about your frontage and we will come and look at it, open a trial hole, and give you a written quote that states the depths.
We normally reply within 24 hours.